Effortless Microwave Rocky Road Fudge: Your Quickest Path to Decadent Dessert
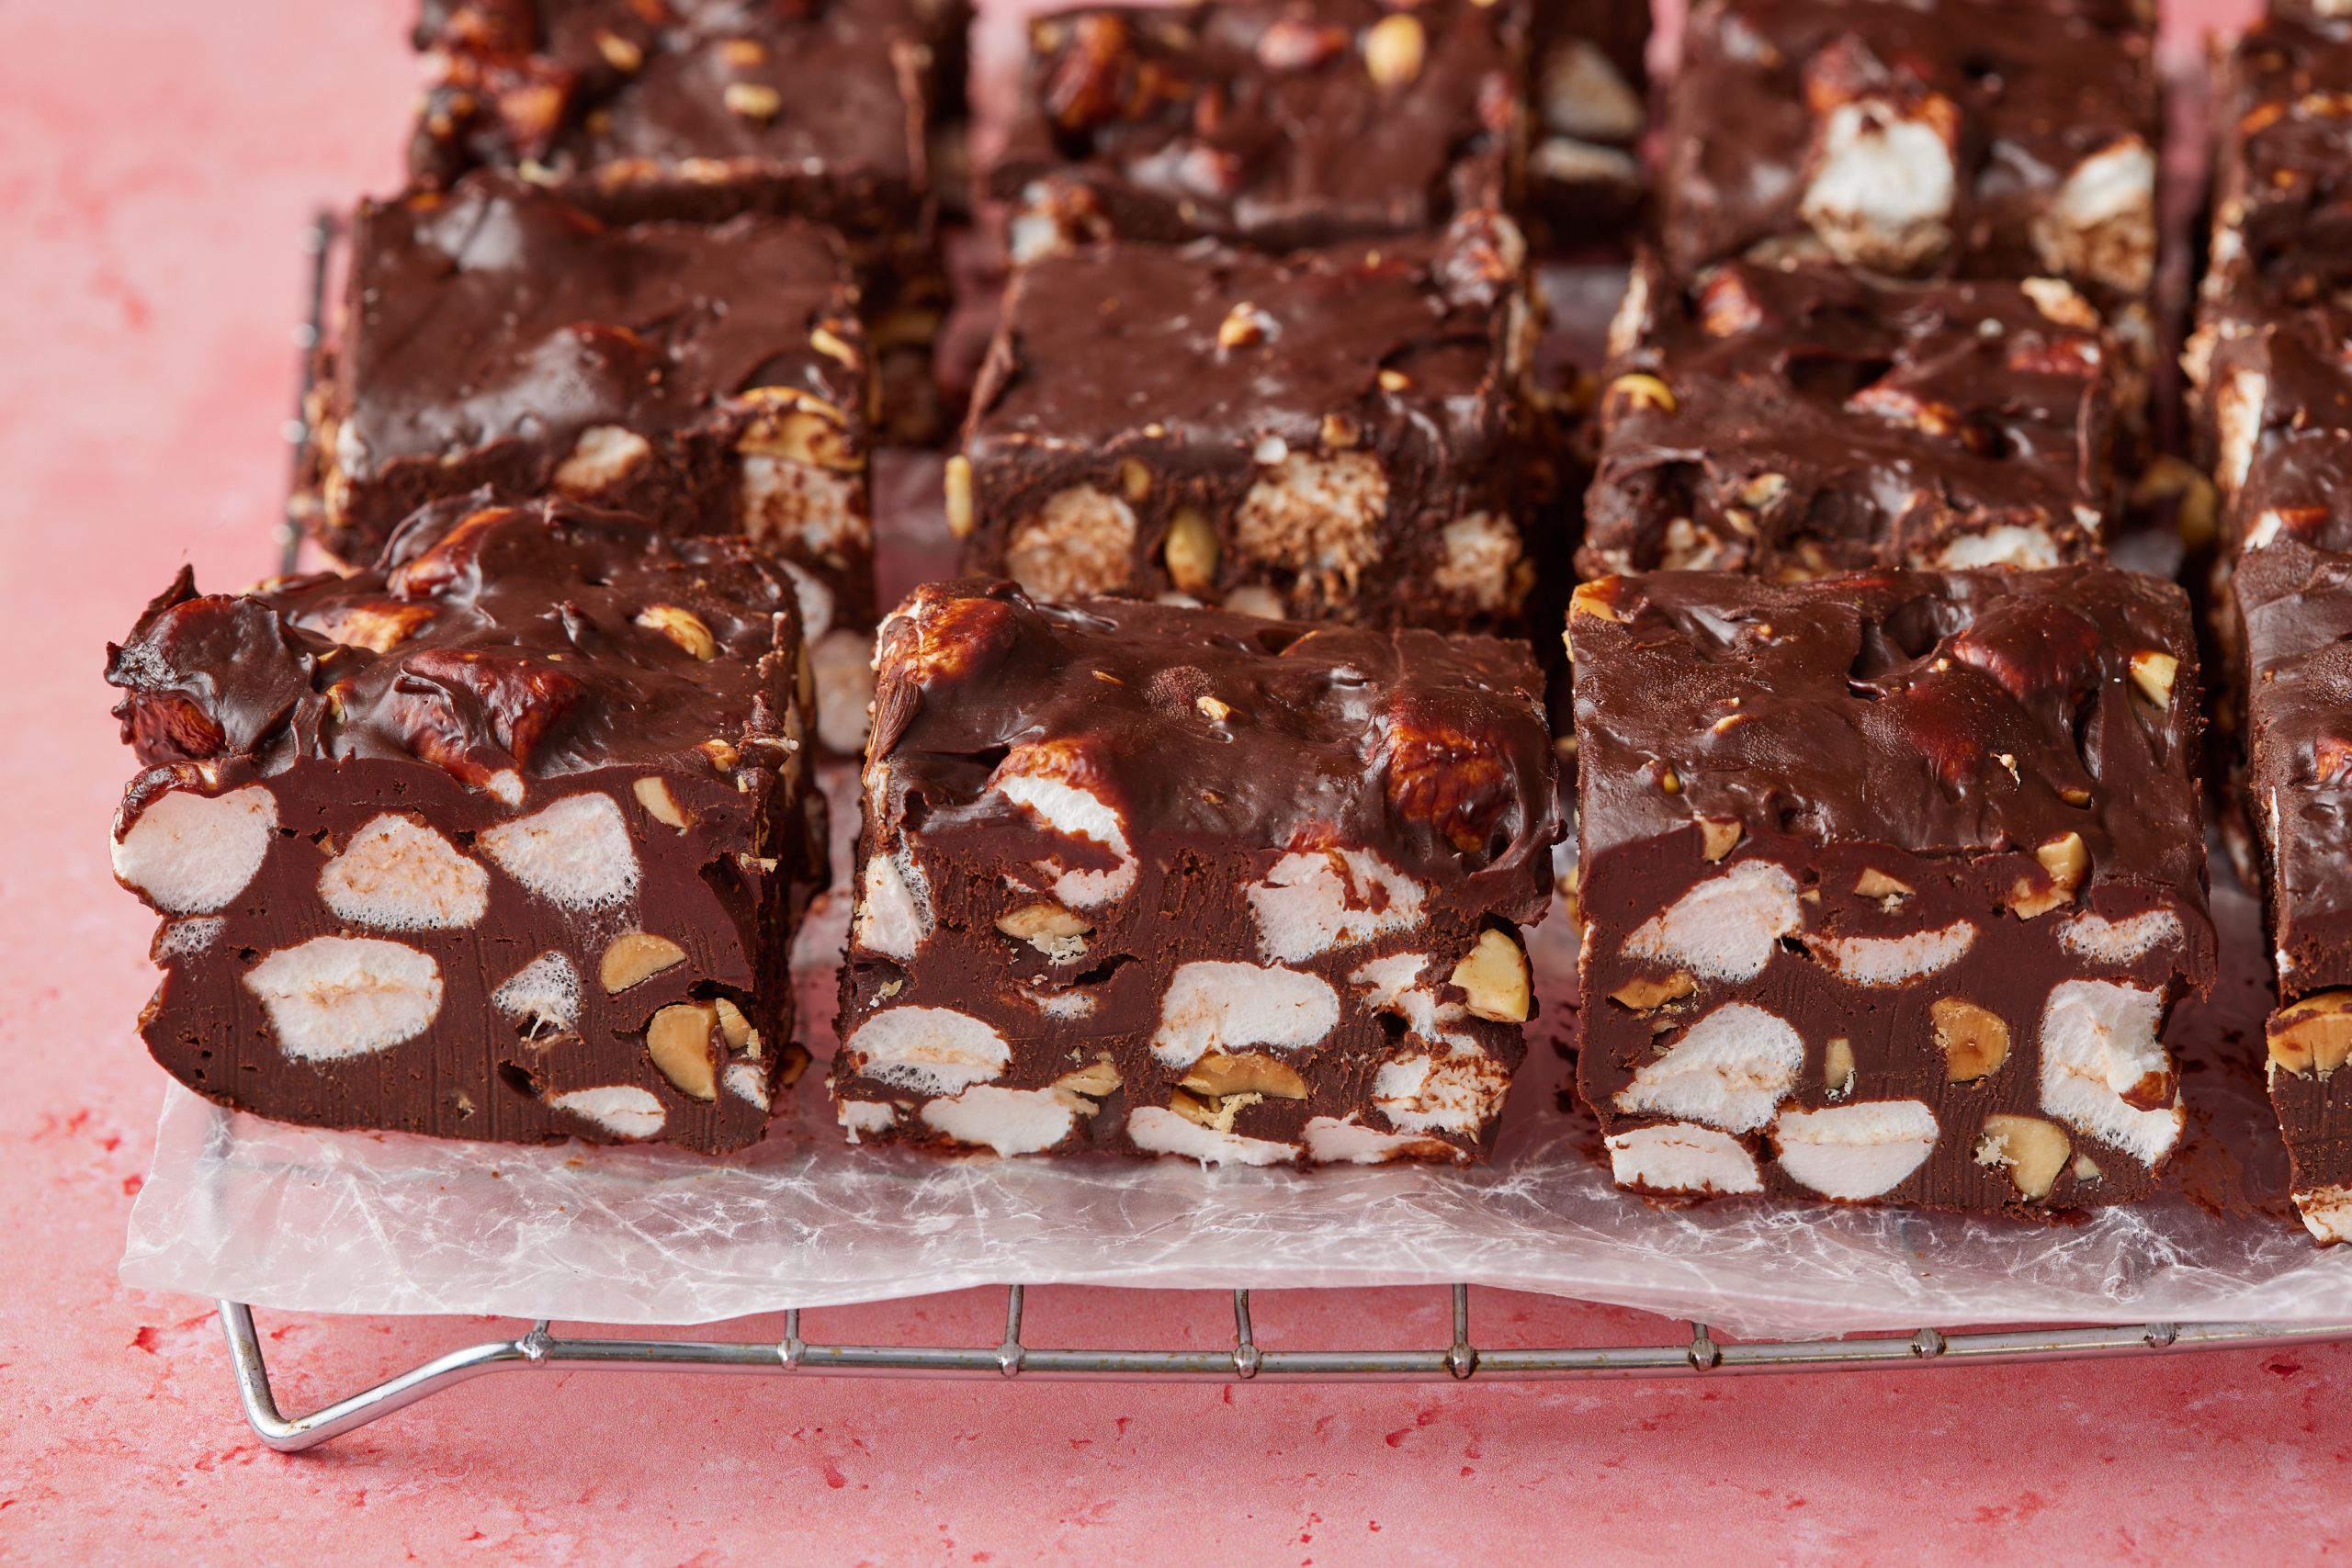
Craving a rich, chocolatey treat but short on time? Imagine a dessert that delivers on decadence, studded with soft marshmallows and crunchy nuts, all without ever turning on your oven. Welcome to the wonderful world of microwave rocky road fudge – a truly effortless confection that proves you don't need hours in the kitchen to create something truly spectacular.
This isn't just any fudge recipe; it's a game-changer for busy schedules, impromptu gatherings, or simply satisfying that sudden sweet tooth. With the microwave doing most of the heavy lifting, you'll be amazed at how quickly you can whip up a batch of this irresistible delight. Say goodbye to complicated candy thermometers and constant stirring over a hot stove; our guide will show you how to master the art of decadent chocolate rocky road fudge with unmatched ease.
The Irresistible Allure of Microwave Rocky Road Fudge
Why has microwave rocky road fudge become such a beloved dessert? The answer lies in its perfect blend of convenience and classic flavor. It captures the heart of traditional fudge – a dense, creamy chocolate base – and elevates it with the playful textures of marshmallows and walnuts. But the real magic is in the preparation method.
- Speed & Simplicity: Forget about lengthy cooking times. The microwave drastically cuts down on the preparation, allowing you to go from craving to confection in minutes.
- Minimal Cleanup: With fewer pots and pans, your post-dessert cleanup is as effortless as the making process itself.
- Consistent Results: When done right, microwave fudge yields a consistently smooth, rich texture without the worry of crystallization often associated with stovetop methods.
- Customizable: While rocky road is a timeless combination, this base recipe is incredibly versatile, inviting endless experimentation with add-ins.
It's the ideal choice for anyone looking to impress without the stress, making it perfect for last-minute gifts, holiday platters, or simply a cozy night in. The combination of intense chocolate, chewy marshmallows, and crisp walnuts creates a symphony of textures and tastes that's truly hard to resist.
Crafting Your Perfect Batch: Ingredients & Essential Tools
The beauty of this microwave rocky road fudge recipe lies in its relatively simple ingredient list, many of which you might already have on hand. For a truly rich and satisfying experience, quality ingredients make a noticeable difference.
Key Ingredients You'll Need:
- Dark Chocolate: Around 1.25 oz of good quality dark chocolate, chopped. Using a higher cocoa percentage chocolate (like an Evolved Chocolate bar, as suggested by the source inspiration) will give your fudge a deeper, more sophisticated flavor profile. Semi-sweet chocolate chips also work wonderfully if you prefer a slightly sweeter outcome.
- Heavy Whipping Cream: Approximately 1 1/2 cups. This is crucial for creating that luxurious, creamy texture without the need for sweetened condensed milk (a common ingredient in other microwave fudge recipes). It provides a rich base that blends beautifully with the chocolate.
- Unsalted Butter: About 1/4 cup. Butter adds richness, gloss, and helps the fudge achieve its smooth consistency. Unsalted allows you to control the overall saltiness.
- Confectioners' Sugar (Powdered Sugar): 3 tablespoons. Using powdered sugar, such as Swerve Confectioners' Sugar as suggested by our reference, ensures a smooth melt and prevents a grainy texture. It also allows you to adjust sweetness to your preference.
- Vanilla Extract: 1 teaspoon. A good quality vanilla extract enhances the chocolate flavor and adds a warm, aromatic depth to the fudge.
- Marshmallows: About 10 oz. For an authentic rocky road experience, soft, chewy marshmallows are a must. Our inspiration specifically highlights gluten-free and vegan options like Dandies’ vegan marshmallows, which makes this a fantastic choice for those with dietary restrictions. If you're interested in more adaptable options, explore our speedy microwave rocky road fudge: vegan & gluten-free options article.
- Walnuts: 1 cup, chopped. Walnuts provide that essential crunch and earthy counterpoint to the sweetness of the chocolate and marshmallows. Feel free to toast them lightly for enhanced flavor.
Essential Tools:
- 8" x 8" Baking Pan: The standard size for this recipe, yielding perfectly sized squares.
- Parchment Paper: Absolutely vital for easy removal and clean cuts. Don't skip this step!
- Microwave-Safe Bowl: Large enough to comfortably hold and stir your ingredients.
- Spatula or Spoon: For stirring and spreading.
Step-by-Step Guide to Effortless Microwave Rocky Road Fudge
Follow these simple steps to create your own batch of delightful microwave rocky road fudge:
- Prepare Your Pan: Begin by lining an 8” x 8” baking pan with parchment paper. Leave a slight overhang on the sides – this will create "handles" to easily lift the fudge out later. Set this aside.
- Combine Wet Ingredients & Chocolate: In a generously sized microwave-safe bowl, combine your chopped dark chocolate, heavy whipping cream, and unsalted butter. Ensure the chocolate is finely chopped for more even melting.
- Microwave & Stir: Place the bowl in the microwave and heat on a high setting for about 2-3 minutes. The key here is to stop and stir the mixture every 30 seconds. This prevents scorching and ensures the chocolate melts smoothly and evenly into the cream and butter. Continue until the mixture is completely smooth and glossy.
- Cool Slightly: Carefully remove the bowl from the microwave. Allow the mixture to cool for 2-3 minutes. This brief cooling period is important before adding the vanilla and sugar to prevent the vanilla from evaporating too quickly and to ensure the powdered sugar dissolves properly.
- Incorporate Flavor & Mix-ins: Stir in the confectioners' sugar (or Swerve Confectioners' Sugar) and vanilla extract until fully combined. Next, add the chopped walnuts and about half of your marshmallows. Stir gently until everything is well distributed throughout the chocolate fudge mixture.
- Assemble in Pan: Pour the fudge mixture evenly into your prepared baking pan. Spread it out with a spatula to ensure a consistent thickness.
- Top with More Marshmallows: Now, take the remaining half of your marshmallows and scatter them generously over the top of the fudge. For that classic rocky road look and feel, you can gently press some of them into the warm fudge mixture.
- Chill & Cut: Place the pan in the refrigerator for a minimum of 2-3 hours, or until the fudge is firm enough to cut. Once set, use the parchment paper overhangs to lift the entire block of fudge from the pan. Place it on a cutting board and slice into desired squares using a sharp, warm knife for clean edges.
Tips for Success & Creative Customizations
While the recipe for microwave rocky road fudge is incredibly forgiving, a few tips can elevate your results from great to outstanding:
- Chocolate Quality Matters: The better the chocolate, the better your fudge will taste. Experiment with different cocoa percentages to find your perfect balance of sweetness and bitterness.
- Don't Over-Microwave: Chocolate can seize or burn if overheated. Frequent stirring in short bursts is the secret to smooth melting. If your chocolate still has a few small lumps after the recommended time, simply keep stirring; the residual heat will usually melt them.
- Toasted Nuts for Extra Flavor: Lightly toasting your walnuts (or pecans, almonds, etc.) before adding them will bring out their natural oils and deepen their nutty flavor, adding another layer of complexity to your fudge.
- Room Temperature Marshmallows: Using fresh, soft marshmallows will make them easier to incorporate and give you that perfect chewy texture.
- Get Creative with Add-ins: Rocky road is classic, but don't stop there!
- Other Nuts: Pecans, almonds, peanuts, or a mixed nut blend.
- Dried Fruits: Dried cranberries, cherries, or apricots can add a tangy counterpoint.
- Pretzels: For a salty-sweet crunch that's incredibly addictive.
- Candy Bits: Mini peanut butter cups, crushed cookies, or toffee bits.
- Spices: A pinch of cinnamon, a touch of chili powder, or a dash of instant espresso can enhance the chocolate flavor.
- Storage: Store your fudge in an airtight container in the refrigerator for up to two weeks, or at room temperature for up to one week. It also freezes beautifully for up to three months.
- Perfect for Gifting: Once cut, arrange pieces in decorative boxes or bags for a homemade gift that's always appreciated.
Conclusion
Creating delectable desserts doesn't have to be a daunting task. This guide to microwave rocky road fudge offers a fast, easy, and incredibly satisfying way to indulge your sweet tooth. From the smooth, rich chocolate base to the delightful chew of marshmallows and the satisfying crunch of walnuts, every bite is a testament to effortless indulgence. So go ahead, gather your ingredients, and in just a few simple steps, you'll have a pan of irresistible fudge ready to delight family and friends – or simply yourself!
